


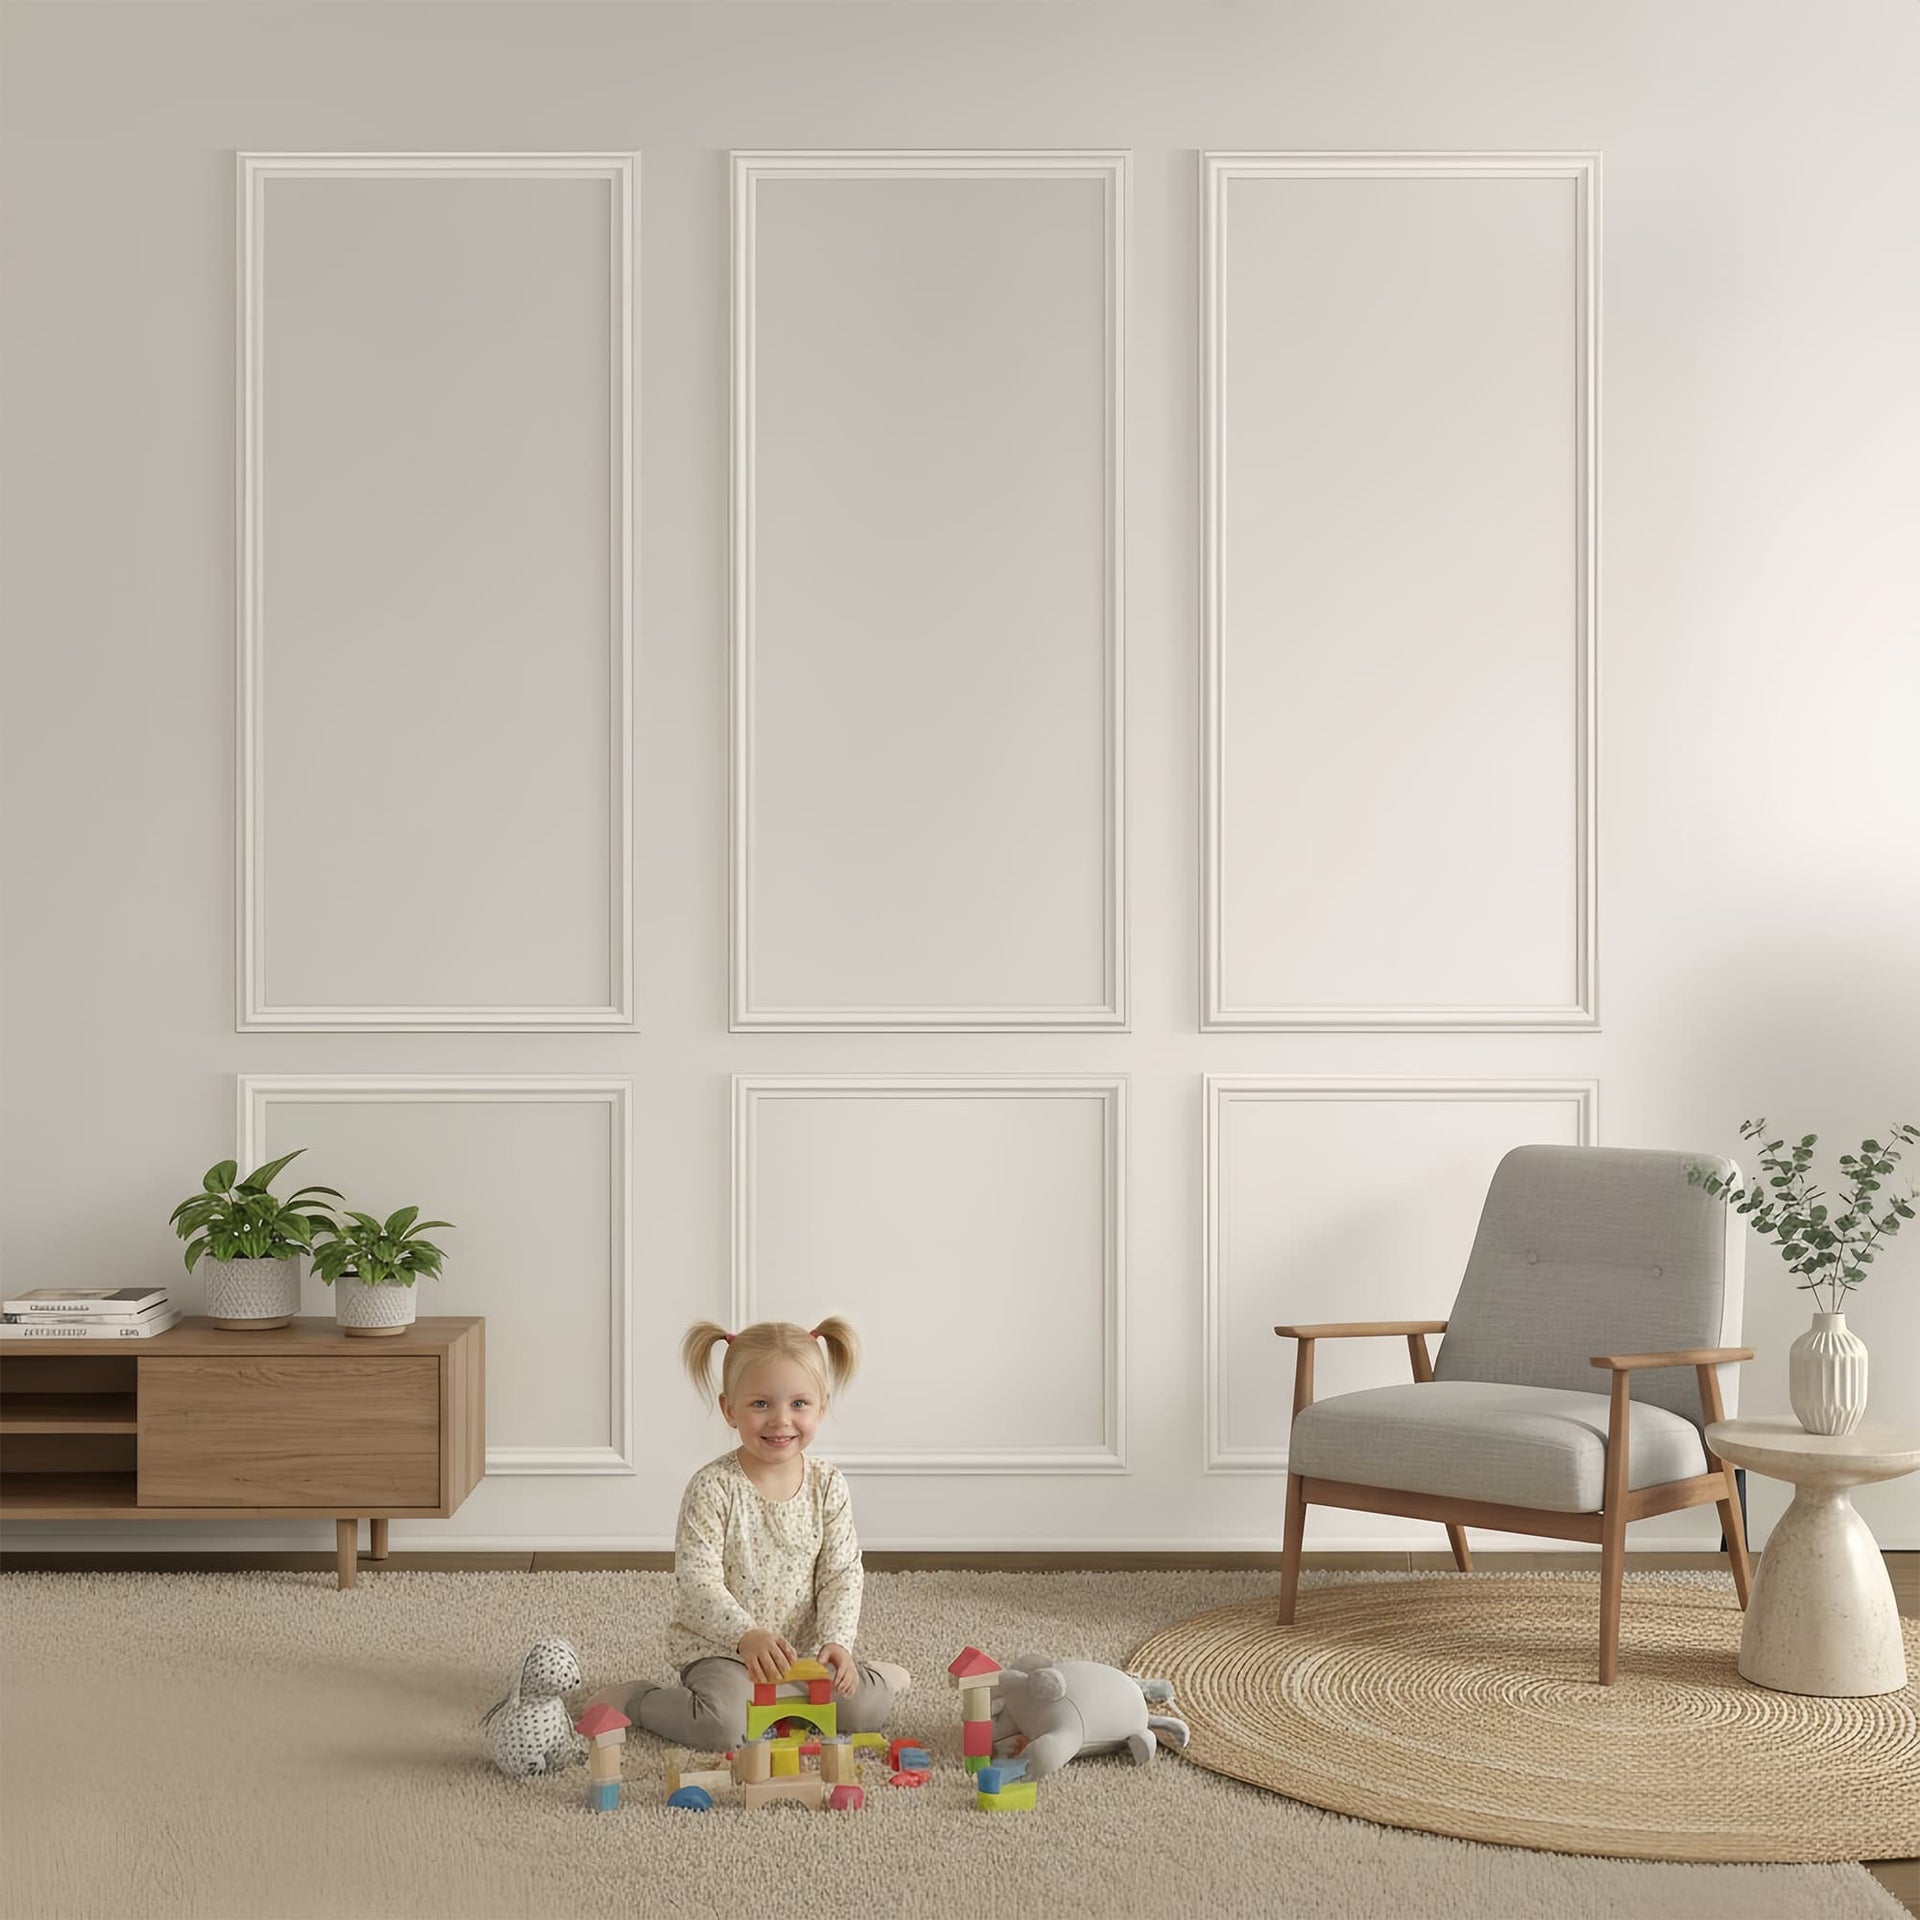
There is a growing awareness that beautiful rooms should also be comfortable rooms, and nothing destroys comfort quite like bad acoustics. Hardwood floors, high ceilings, and large windows look stunning, but they also bounce sound around like a pinball machine, turning conversations into echoes and music into mush. Acoustic slat wood wall panels solve this problem without sacrificing an ounce of style. These panels combine real wood veneers or high-quality laminates with a felt or foam backing that absorbs sound waves rather than reflecting them. The slatted design creates a rhythm of shadow and light that feels warm and modern, whether you install them in a home theater, a home office, or a living room that doubles as a podcast recording space. What makes them especially appealing is that they pull double duty: they make your room look intentional and designed while also making it sound better. That is a rare combination in any home improvement product.
How Acoustic Panels Actually Absorb Sound
Understanding why these panels work requires a quick look at how sound behaves in a typical room. When you speak or play music, sound waves travel outward until they hit a hard surface like drywall, glass, or hardwood. Instead of stopping, those waves bounce back into the room, creating reflections that muddy the original sound. Acoustic slat panels interrupt this cycle through their construction. The front layer consists of wooden slats spaced with precise gaps between them. Sound waves pass through these gaps and encounter the felt or acoustic foam backing, which is made of thousands of tiny fibers or open cells. As the sound tries to move through this fibrous layer, friction converts the acoustic energy into tiny amounts of heat, effectively absorbing the wave rather than reflecting it. The wooden slats themselves also help by breaking up large flat surfaces into smaller reflective areas, scattering whatever sound does bounce back. The result is a room where conversations feel clearer, music sounds more detailed, and that hollow echo that plagues so many modern homes simply disappears.
The Difference Between Soundproofing and Sound Absorption
A common misconception about acoustic panels is that they will stop sound from traveling between rooms. They will not, and understanding this distinction saves you from disappointment. True soundproofing requires mass, airtight seals, and decoupled construction—think thick walls with insulation, double layers of drywall, and careful sealing around every gap. Acoustic slat panels do none of these things. What they do is improve the sound quality within a room by reducing echo and reverberation. This is called sound absorption, not soundproofing. In practical terms, this means that while your neighbor will still hear your movie through the wall, you will hear that movie much more clearly and pleasantly in your own room. For most homeowners, this is exactly what they need. Echoey rooms are exhausting to spend time in, and absorption panels make those spaces feel calmer and more intimate without requiring a full construction project.
Choosing Between Real Wood Veneer and Laminate
The outer layer of acoustic slat wood wall panels comes in two main varieties, and your choice affects both the look and the longevity of your installation. Real wood veneer panels use a thin slice of actual wood adhered to a stable substrate. The result is unmatched depth and warmth, with natural grain variation that changes as light moves across the room. Veneer also ages beautifully, developing a richer patina over years of use. The downside is cost and sensitivity. Veneer panels are more expensive, and they require careful handling during installation to avoid chipping the thin wood layer. Laminate panels use a printed photographic layer sealed under a clear protective coating. Modern laminates are remarkably convincing, with high-resolution printing that captures grain patterns down to the pore level. They are also more durable, more consistent from panel to panel, and significantly less expensive. For high-traffic areas or rooms with children and pets, laminate is often the smarter choice. For a primary bedroom or a dedicated listening room where you want the authentic warmth of real wood, veneer is worth the investment.
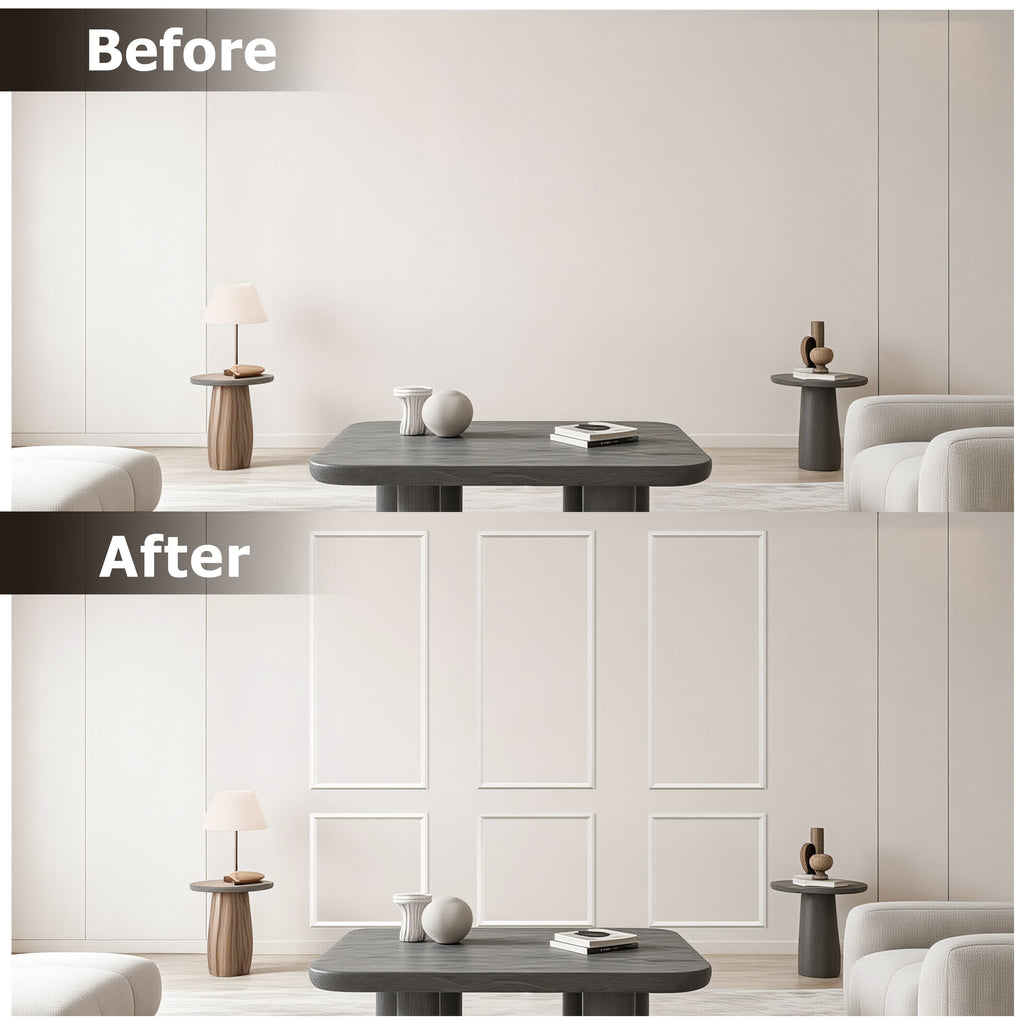
Installing Acoustic Slat Panels on Walls
Installation is straightforward enough for a confident DIYer but different enough from traditional molding that reading the manufacturer’s instructions is genuinely important. Most panels are designed to be attached directly to drywall using construction adhesive and finishing nails or screws. Start by marking your stud locations on the wall, because you will want to drive fasteners into studs for the most secure hold. Apply a continuous bead of acoustic-rated adhesive to the back of each panel, staying about an inch from the edges. Press the panel firmly against the wall, then drive trim-head screws or finish nails through the slats and into the studs. The gaps between slats usually align perfectly with standard stud spacing, so take advantage of this design feature. For a seamless look, many panels come with matching edge strips or splines that cover the seams between adjacent panels. If your panels do not include these, leave a consistent gap of about one-eighth inch between panels and fill it with color-matched caulk. Work from the bottom of the wall upward and from one corner across to the opposite corner, checking every panel with a level before fastening.
Cutting Panels to Fit Around Obstacles
Few walls are perfectly rectangular with no obstacles, so expect to do some cutting. Acoustic slat panels cut cleanly with a circular saw fitted with a fine-tooth blade, a jigsaw for curved cuts, or even a sharp utility knife for the felt backing alone. For straight cuts across the panel, mark your cut line, then score the wood slats deeply with a utility knife before making the saw cut. This prevents the slats from splintering at the cut edge. For cutouts around electrical outlets, hold the panel in place against the wall, then use a small square to mark the outlet location directly on the panel. Drill a starter hole, then use a jigsaw to cut the opening slightly larger than the outlet box. The outlet cover plate will hide any minor roughness around the cut edge. When cutting near the edges of a panel, be aware that the structural integrity comes from the felt backing, not the slats. As long as the backing remains intact, the panel will hold together. If you accidentally cut through the backing, reinforce the area with a patch of heavy fabric and construction adhesive before installation.
Maintaining Your Acoustic Panels for Longevity
Acoustic slat panels require less maintenance than you might expect, but a few simple habits keep them looking new for years. Dust the panels weekly with a soft microfiber cloth or the brush attachment on your vacuum, running the brush in the direction of the slats. For deeper cleaning, a slightly damp cloth with a few drops of mild dish soap works well, but wring the cloth almost completely dry before wiping. Standing water can seep into the gaps and damage the felt backing. Avoid using any cleaning products that contain silicone or oil, as these can leave residues that attract more dust. If a slat becomes damaged, most manufacturers sell individual replacement slats that can be glued into place without removing the entire panel. Simply cut away the damaged portion of the slat, clean the area, and glue in the new piece. The felt backing hides the repair from behind, and the new slat blends in with the surrounding wood grain. With reasonable care, quality acoustic slat panels will outlast your desire for them, continuing to absorb sound and add style long after the installation is forgotten.
Comments (0)