


There is a quiet revolution happening in the world of home decor, and it is sticking to walls everywhere. The self adhesive wall molding kit represents one of the most accessible innovations in recent memory for those looking to add architectural interest to their living spaces without the usual chaos of renovation. Gone are the days when adding trim work meant clearing the room, laying down drop cloths, and enduring hours of nail gun fire and sawdust. These modern kits have distilled the entire process down to its simplest form: peel, stick, and admire. For anyone who has ever looked at a plain wall and wished for just a little more character, these systems offer a path forward that is as smooth and straightforward as the updates they help create.
The Magic Behind Self Adhesive Technology
Understanding why these kits work so well starts with appreciating the engineering behind the adhesive itself. The strips and panels in a self adhesive wall molding kit are backed with industrial-grade foam or gel tape that is specifically formulated to create a permanent bond with painted drywall and other smooth surfaces. This is not the same sticky stuff you might find on a children's poster or a temporary hook. These adhesives are designed to bear weight, resist humidity, and maintain their grip through seasonal temperature changes. The molding materials themselves are typically lightweight polyurethanes or resin composites that put minimal stress on the bond while offering the visual weight of real wood trim. This combination of light materials and heavy-duty adhesion means the molding stays exactly where you put it, creating a finish that looks and feels permanent without any of the permanent installation methods.
What Comes in a Typical Kit
When you open a self adhesive wall molding kit, you will find a thoughtfully curated collection of components designed to take you from start to finish with minimal additional purchases. The core of the kit is, of course, the lengths of molding themselves, often pre-primed and ready to paint. These come in various profiles, from simple flat strips to more ornate decorative patterns. Alongside these straight pieces, you will discover pre-formed corner blocks and connector elements. These are perhaps the most valuable components, as they eliminate the need for complex angle cuts. Instead of trying to join two pieces at a perfect 45-degree corner, you simply run your straight molding into these blocks, creating a professional finish with zero guesswork. Some premium kits even include alignment tools or spacing guides to help you maintain perfect symmetry across your wall, ensuring that your final design looks intentional and professionally executed.
Preparing Your Walls for Success
The secret to a flawless self adhesive molding installation lies almost entirely in the preparation. Because these kits rely on surface adhesion rather than mechanical fasteners, the condition of your wall is paramount. Begin by thoroughly cleaning the areas where you plan to apply the molding. A simple solution of mild dish soap and water will remove dust, grease, and any residue that might interfere with the bond. Pay special attention to kitchens and other areas where cooking vapors might have left an invisible film on the walls. Once the surface is clean and completely dry, take a moment to inspect for any imperfections. Small bumps or rough patches can be gently sanded smooth, and any holes should be filled and sanded flush. The goal is to create a perfectly smooth canvas that allows the adhesive to make maximum contact. This preparation phase takes a little time but pays enormous dividends in the longevity and appearance of your finished project.
Designing Your Wall Layout
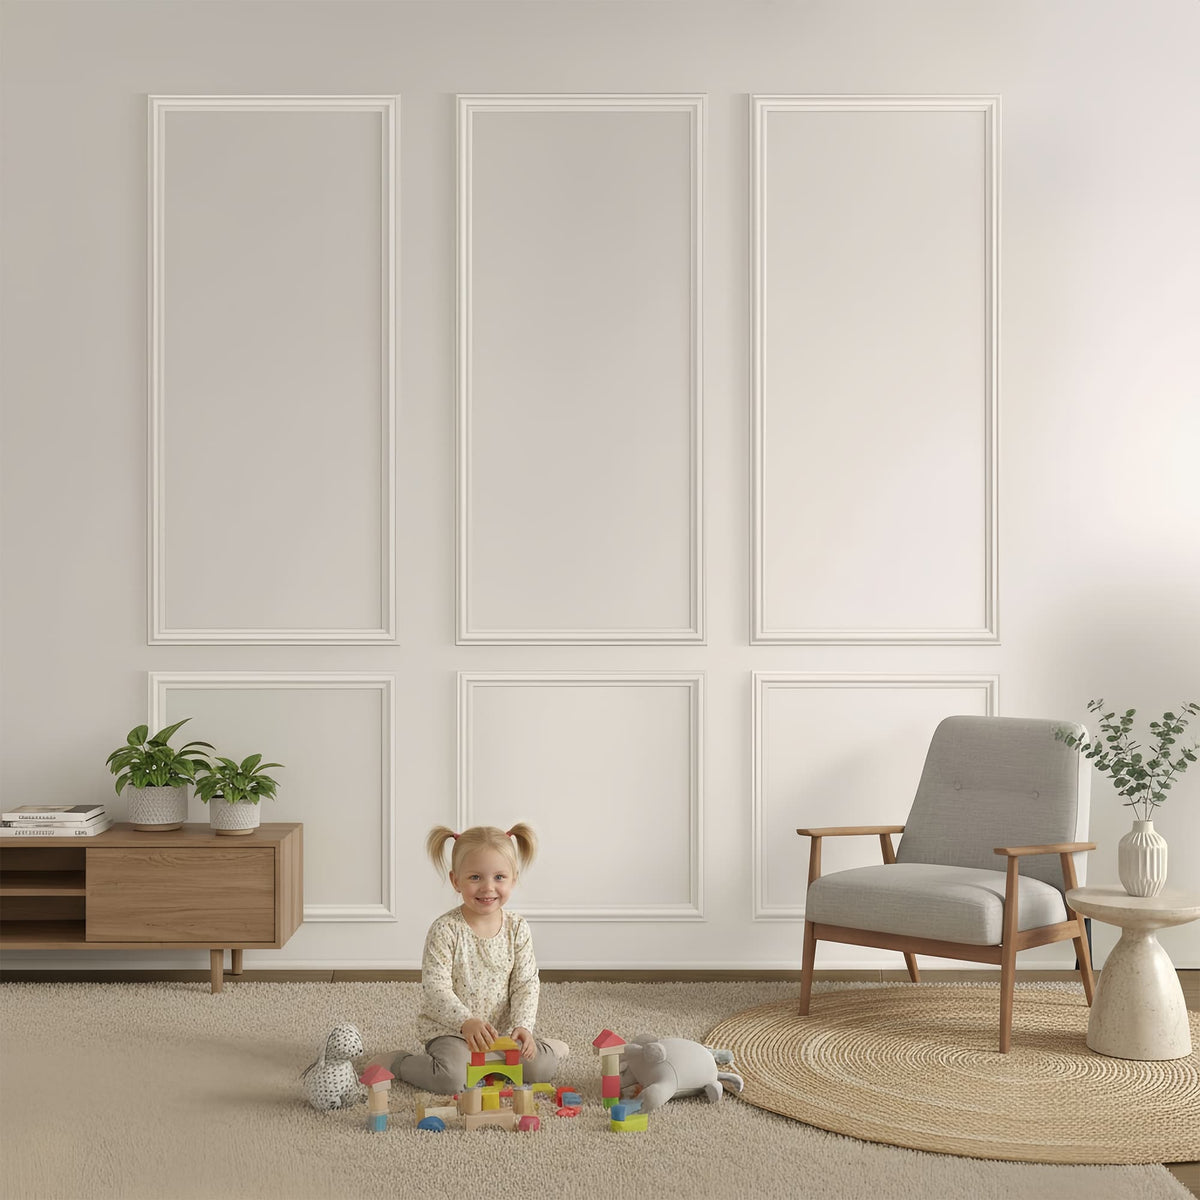
With clean walls and your kit in hand, the next step is perhaps the most creative and satisfying part of the process: designing your layout. Before you peel a single backing strip, spend time envisioning how you want your finished wall to look. Many people find it helpful to use painter's tape to outline the proposed frames directly on the wall. This allows you to step back, view the composition from different angles, and make adjustments before anything becomes permanent. Consider the proportions of your room and the placement of furniture. In a living room, you might want frames that align beautifully with your sofa and console tables. In a dining room, consider how the panels will relate to your table and sideboard. The beauty of this design phase is that it costs nothing but time and allows you to experiment freely. Once you settle on a layout that pleases your eye, use a level and pencil to mark light guidelines that will serve as your installation roadmap.
The Simple Pleasure of Installation
When your design is finalized and your guidelines are marked, the actual installation becomes a remarkably satisfying process. Begin with the corner blocks or the most prominent vertical pieces, as these establish the framework for everything else. Peel away a small section of the backing paper and position the piece carefully against your pencil marks. Once you are confident in its placement, slowly peel away the remaining backing while pressing the molding firmly against the wall. Working from one end to the other helps prevent air bubbles from becoming trapped beneath the surface. Apply firm, even pressure along the entire length of each piece, paying extra attention to the edges where the adhesive needs to seal most effectively. For longer pieces, it helps to have a second set of hands, but many DIYers find they can manage perfectly well on their own. The entire process is clean, quiet, and remarkably fast, with most average-sized rooms taking just a few hours from start to finish.

Painting and Finishing Touches
Once all your molding pieces are in place and the adhesive has had time to set, the finishing phase begins. One of the great advantages of these kits is that the molding typically arrives pre-primed, meaning it is ready to accept paint immediately. This is where your design truly comes to life. You have several options for how to approach the painting. Many homeowners choose to paint the molding the same color as the wall, creating a subtle, textural effect that reads as integrated architectural detail. Others prefer to use a contrasting color, making the frames pop and adding a graphic element to the room. White molding against a colored wall is a classic choice that never goes out of style. When painting, use a small roller for the broad surfaces of the molding and an angled brush for cutting in along the edges. The result is a seamless integration of new and old, where your fresh molding looks like it has been part of the room since the day the house was built.
Where Self Adhesive Molding Shines Brightest
While these kits work beautifully throughout the home, certain spaces truly showcase their unique advantages. Renters have perhaps the most to gain, as self adhesive molding allows them to personalize their space without risking their security deposit. When it is time to move, careful application of heat from a hairdryer can soften the adhesive enough to remove the molding cleanly. Bathrooms and kitchens, where moisture might complicate traditional wood installations, are ideal candidates for these moisture-resistant systems. Home offices benefit from the added sophistication that wall frames provide, creating a professional backdrop for video calls. Even bedrooms can be transformed with a simple panel behind the bed, creating the illusion of a custom headboard without the expense. Wherever you choose to apply them, self adhesive wall molding kits prove that elegant updates need not be complicated, expensive, or permanent.
Comments (0)