
Remember me
It’s been a hard-won battle, but we have made it through the first two months of the year and spring is within our reach.
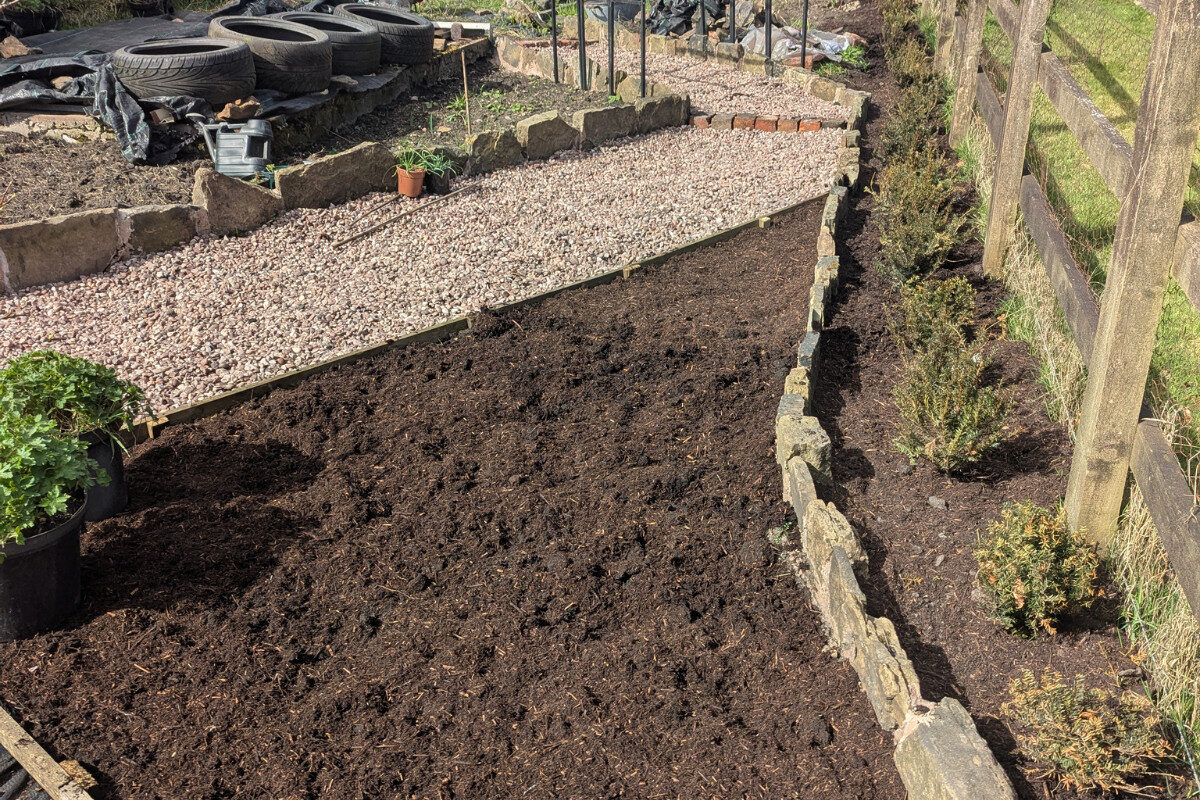
Having said that, at the time of writing yet another storm is hammering my part of the UK and I am still spending a lot of my time undercover as the garden is sodden.
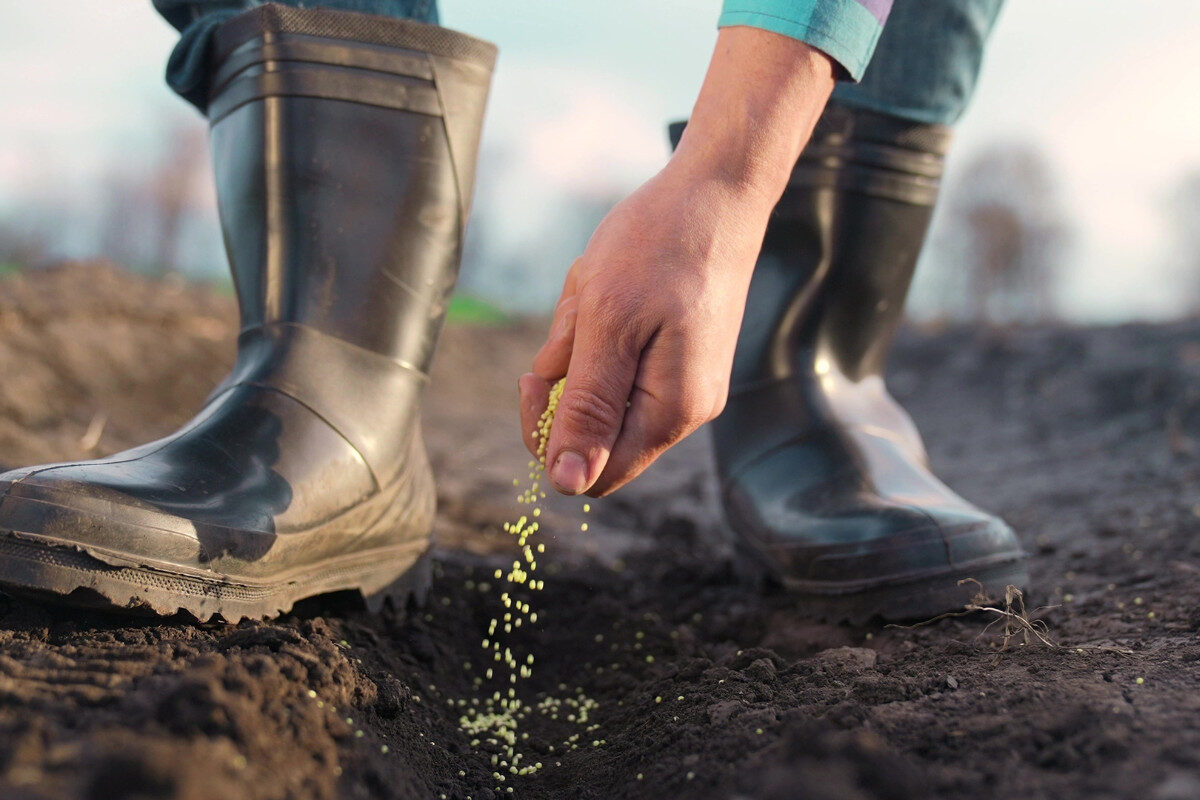
This gives me the freedom to sow seeds and pot up tubers ready for the warmer days that must surely (please!) be just around the corner.
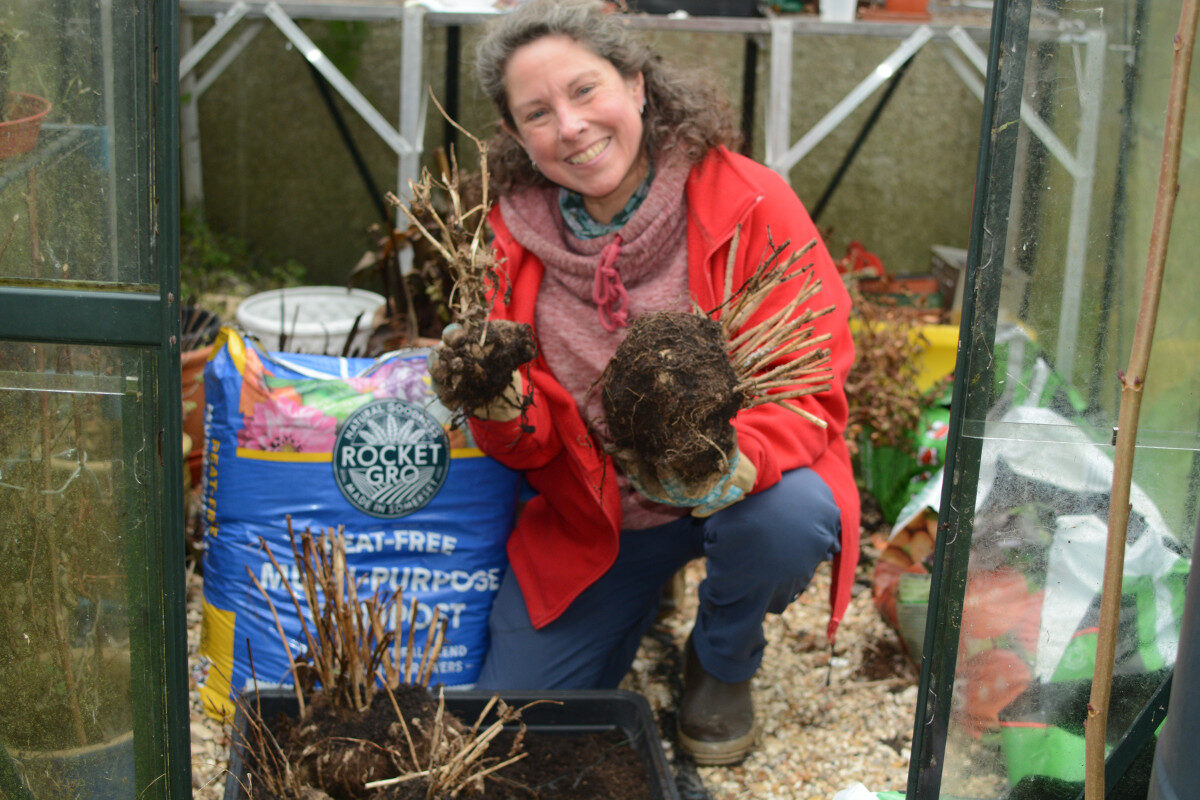
If, like me, you lifted and stored your dahlia tubers last autumn, now is the time to check they are still sound and healthy and restart them for this summer’s splendour.
If, like me, you have trays stacked with lifted tubers but also have a persuasive little voice hissing ‘buy more’ in your ear, or are just starting your dahlia journey, then pop down the garden centre today and buy those you fancy while there is still a good selection in stock.
When you give your tubers a health check before potting up – and it’s worth doing this with fresh ones as well as those you’ve stored – dispose of any that feel soft or wet or are mouldy. If they are newly bought, ask for a refund.
Some of the stems on my stored ones have developed grey mould so I’ve removed these, but I’m leaving most intact (see panel below).

Once the tubers are potted up, I’ll keep them in the greenhouse and wait (impatiently) for the green shoots of renewal. When these appear, you can use some of them as cuttings to make more plants – I’ll show you how in a few weeks’ time.
Potting up tubers Pot up dahlia tubers in peat-free multipurpose compost
Try not to break the old stems attached to your dahlia tubers as these areas are where the new shoots will emerge.
Carefully pot up the tubers in fresh peat-free multipurpose compost, water them in and stand them somewhere frost-free where the light is good.
Depending on the temperature, shoots may take time to appear – I was panicking last year as mine were very slow.
Keep a watchful eye on the new growth as sap-sucking aphids will feast on them given half a chance.
4 ways to prep your greenhouse
Pot up dahlia tubers in peat-free multipurpose compost
Try not to break the old stems attached to your dahlia tubers as these areas are where the new shoots will emerge.
Carefully pot up the tubers in fresh peat-free multipurpose compost, water them in and stand them somewhere frost-free where the light is good.
Depending on the temperature, shoots may take time to appear – I was panicking last year as mine were very slow.
Keep a watchful eye on the new growth as sap-sucking aphids will feast on them given half a chance.
4 ways to prep your greenhouse

1. My greenhouse glass is a disgrace, so I’m cleaning it inside and out, and also disinfecting the shelves and work bench.

2. Rain has been a constant this winter so I regularly check and clear gutters so it can flow freely into our water butts.

3. On milder days, I open the greenhouse door and window to let air circulate, then close them in the afternoon.

4. A greenhouse full of overwintering plants is the perfect sanctuary for unwanted dinner guests, so stay alert for invaders!
Find more tips, advice and articles like this at the Amateur Gardening website. Subscribe to Amateur Gardening magazine now
Comments (0)