
Remember me


USB power is not terribly convenient, so let’s make our node a little easier to carry around. For this handheld node, we’re going to add a 3D-printed case and battery, and optionally a BME/BMP280 temperature sensor.
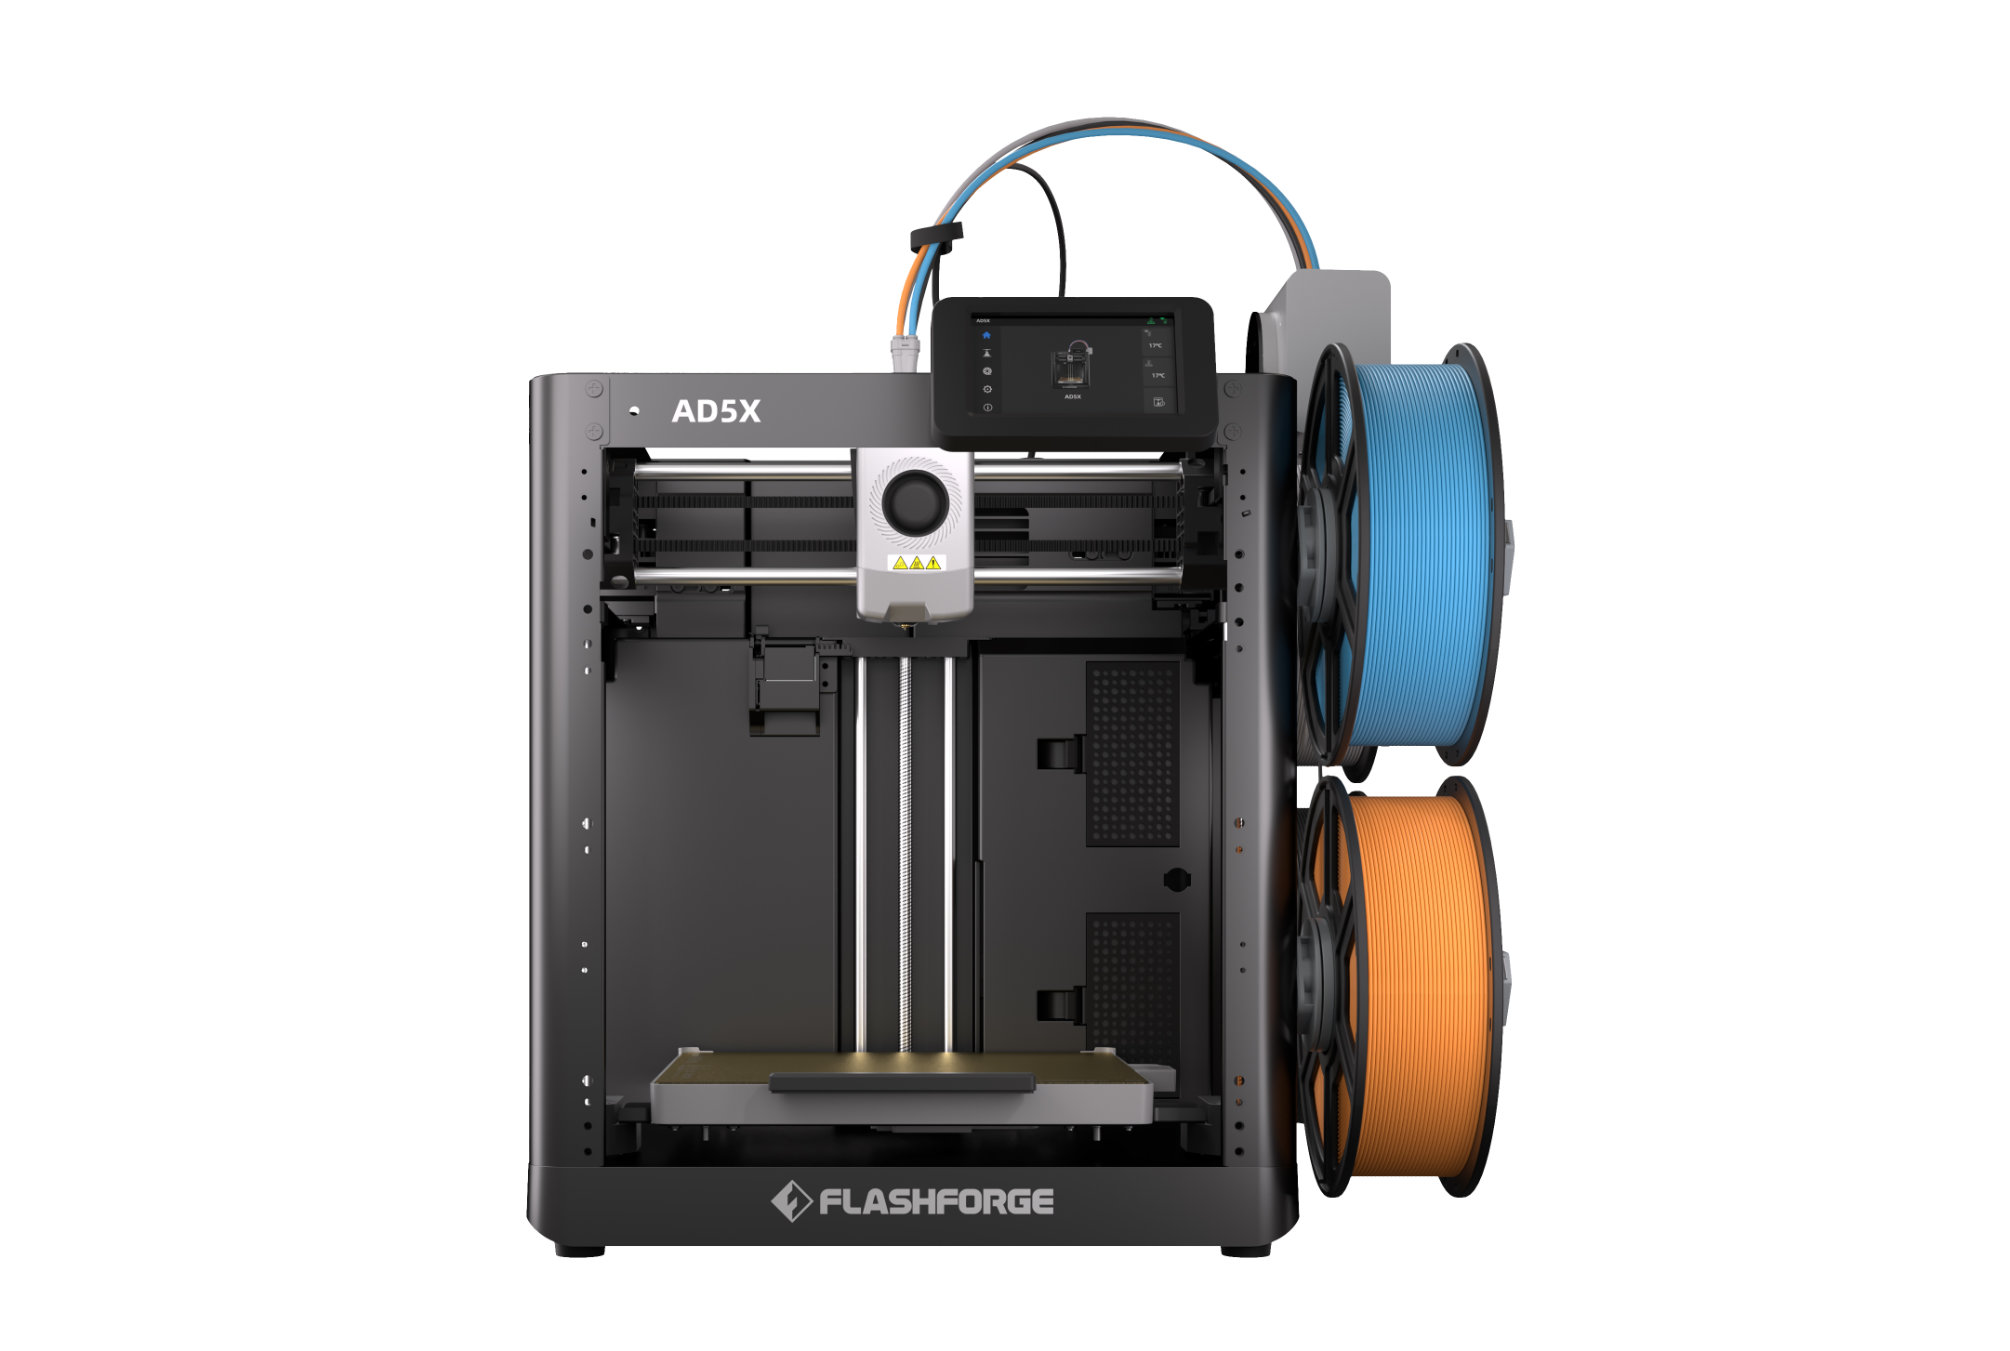
2a. From printables.com/model/286664, download and print the four STL files for the case: the front, back, frame, and reset button. You can also purchase these from vendors listed on the Printables page.
2b. (optional) If you’d like to add the BME/BMP280, now’s the time. Solder it to the back of the WisBlock, connecting VCC to VIN, GND to GND, SCL to SCL, and SDA to SDA. Verify the pin order on your specific BME/BMP280 as they may differ. If you’re using the WisBlock BME680, click it in place on the back of the baseboard onto Slot D.


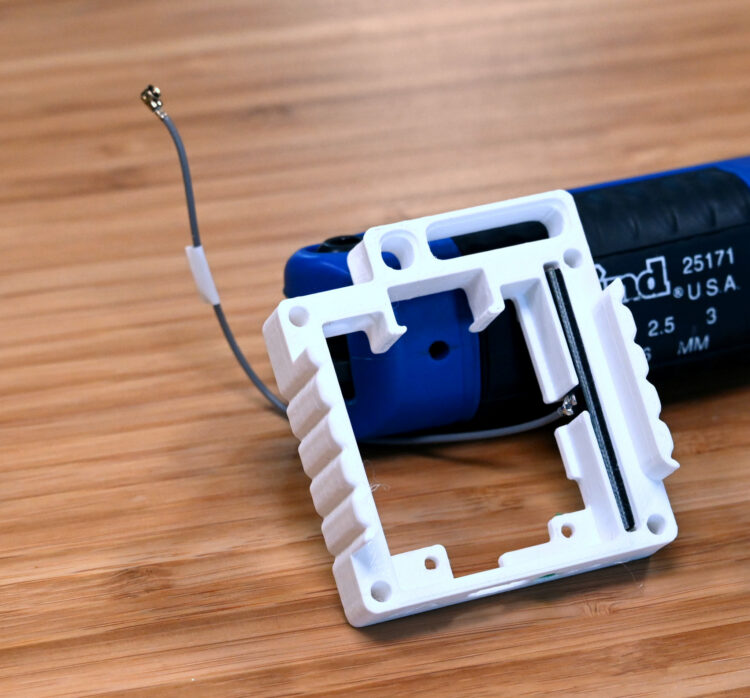
2c. Unplug the two antennas from the WisBlock.
2d. Slip the Bluetooth PCB antenna into the slot on the right side of the frame piece, with the wire sticking down.
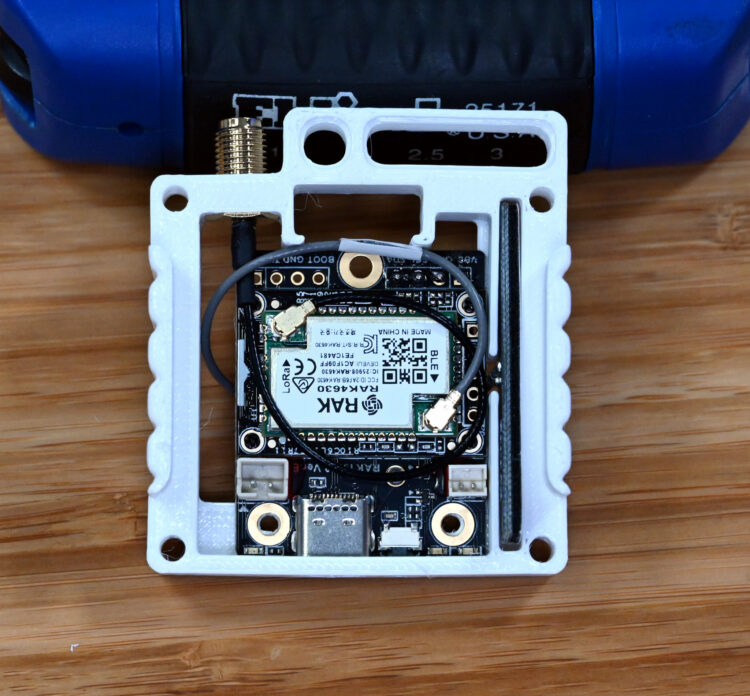
2e. Put the reset button into the frame, and then press-fit the WisBlock into the frame. Depending on your printer tolerances this might be a tight fit.
2f. Fit the SMA connector into the cutout at top left. This is, again, a tight fit and may require some pushing, shoving, and slight flexing of the PCB to slide the SMA port past the WisBlock.
2g. Loop the SMA wire around and reconnect it to the LoRa port. Fish the Bluetooth wire around the back and plug that into the BLE port.
2h. Put the lock washer (from the WisBlock kit) and nut on the SMA port. Add the SMA antenna.
2i. Connect the battery to the bottom left port (closest to the USB), threaded from the backside.
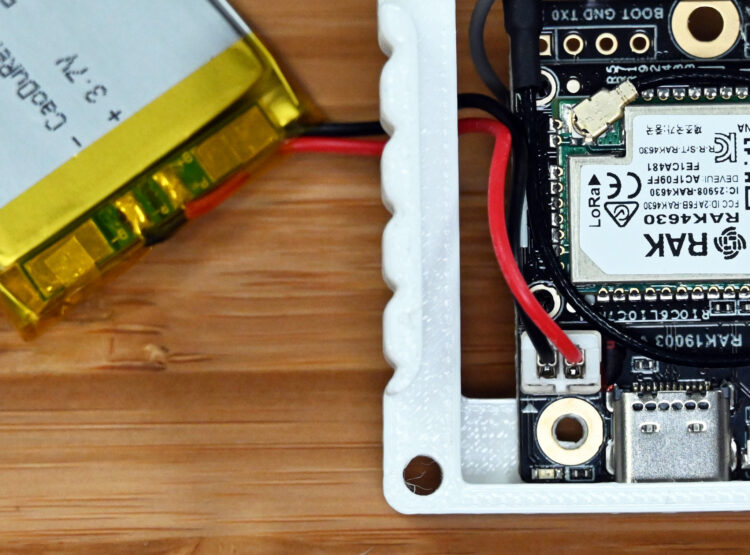
WARNING: Make sure your battery is wired so that the ground wire (black) is on the outside as pictured. If it’s wired incorrectly, you can fix it. The JST plugs include small locking tabs; lift these carefully, remove and swap the red and black wires.
2j. Put the battery into the back case, and fit on the front case.

2k. Use the four M3 screws and nuts to secure your new node case together.
2l. Hit the reset button on the bottom and the node should boot up. The green activity light should begin to blink and flash.
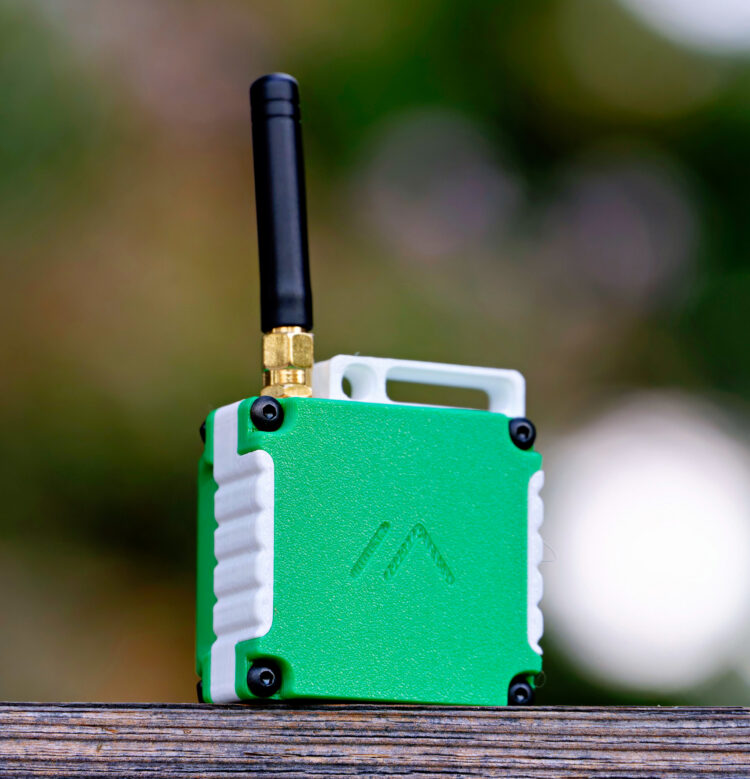
2m. Open the Meshtastic app and enjoy your new portable node!
2n. (optional) If you installed the BME/BMP280, go into Settings -> Telemetry. Under the Sensor Options section, turn on the Enabled option and save (your node will reboot). Now the sensor should automatically be detected and broadcast its sensor data, which is visible under Environmental Metrics Log.

