
Remember me


You’d expect that the main benefit of iCloud is file syncing—after all, it’s right in the name. But if that’s all you’ve used iCloud for, you’re missing out on its best trick.
iCloud can help keep you more private online and cut down on the incessant email spam we all get. It’s available for everyone, but gets even better if you’re an iCloud+ subscriber.
Not just syncing: upgrade your email
Screenshot by Ben Stegner; no attribution required
It’s easy to overlook, but by signing into your Apple account at icloud.com, you can access iCloud Mail. You might have created an iCloud email address when you created your Apple account; if not, you’ll have the option to create one when signing into the above page.
iCloud Mail is a solid mail service in itself. As you’d expect, it integrates seamlessly with the Mail app on iPhone, iPad, and Mac. There are no ads, and Apple doesn’t scan your emails for advertising. The neat iCloud Mail Cleanup feature lets you automatically remove old, large, or otherwise unneeded messages.
The contents of your iCloud Mail inbox count against your total iCloud storage, which is shared with your device backups, Apple Photos storage, and similar. You may need to free up iCloud space if you’re running low.
But one of iCloud Mail’s most useful features is hidden: email aliases. These allow you to create alternate addresses that you can send mail from and receive at. They’re “masks” on your actual account, letting you send and receive email in the same inbox without giving out your actual email address.
Setting up an iCloud Mail aliasIn iCloud Mail’s web view, click the Gear icon at the top-left, followed by Settings. Then under the Account tab, you’ll see the Aliases section. Every iCloud Mail user can create a maximum of three aliases; click Add Alias to start.

Screenshot by Ben Stegner; no attribution required
Making a new alias is easy. Enter the address you want to use, and the Full Name (this displays in the From field when someone receives mail from you). If you want, add a Label to help you keep track of what this alias is for.

Screenshot by Ben Stegner; no attribution required
Once you’ve created an alias, all email sent to the address will appear in your iCloud inbox. In the Send From box lower on the page, uncheck any addresses that you only want to receive mail at; they won’t appear in the From box when you create new mail. You can also set your default sending address to an alias.

Screenshot by Ben Stegner; no attribution required
To manage an alias later, click it in the list on the Account page; this lets you change the label or name. Checking Disable Alias is a temporary option that will return any received mail to the sender. Deleting an alias is permanent.
If you have all three alias slots used and you delete one, you’ll have to wait seven days before creating another.
Once you’ve set up aliases, consider using the Rules tab in iCloud Mail to utilize them further. You could move all messages addressed to one alias to a certain folder, or filter all mail from one domain, for example.
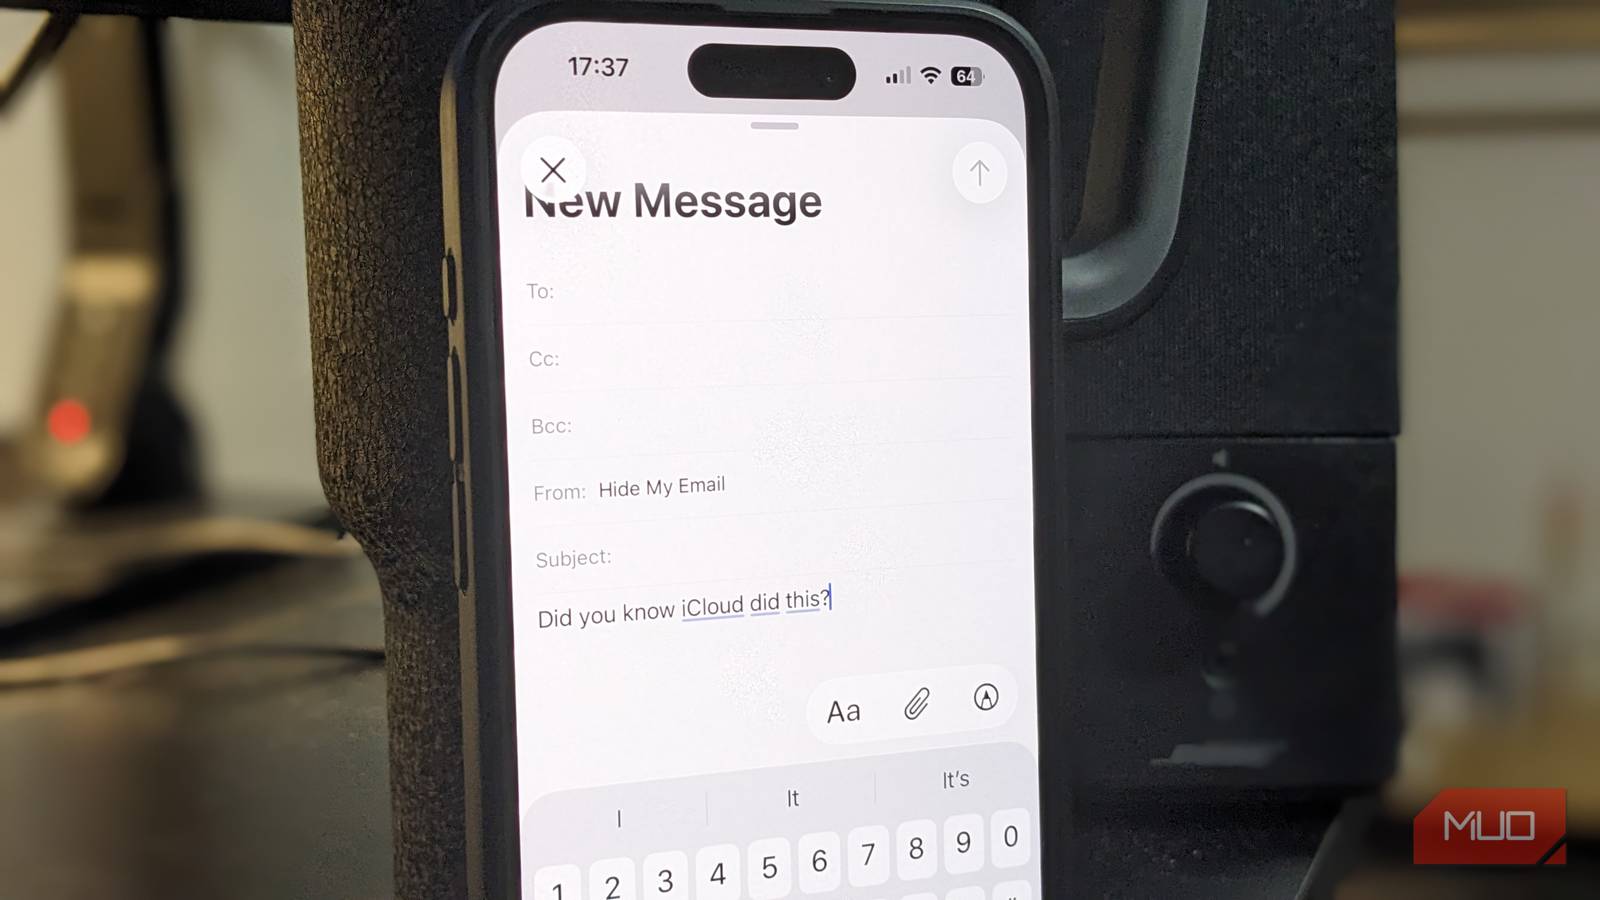
Those with iCloud+ can hide their emailAliases are great, but if you subscribe to iCloud+, one of the advantages is that you can go further with hiding your email address. The Hide My Email feature will generate random email addresses on demand, letting you create and delete them as often as you need.
To set them up on the web, head to the iCloud+ account page and click Hide My Email. You’ll see any email addresses you currently have active, with the Plus button to add another.

Screenshot by Ben Stegner; no attribution required
When you create a new throwaway address with Hide My Email, you can regenerate the address, but you can’t customize it. All you need to provide is a label, plus a note if desired. Then, choose which of the real email addresses connected to your Apple account the random ones will send to.
Managing your throwaway addressesThat’s all—you can return to this page anytime to copy the random email addresses, change their labels, or deactivate them. Once deactivated, you’ll stop receiving mail for an address, but you can always turn it back on.
On your iPhone, you’ll find these same options under Settings > [Your name] > iCloud > Hide My Email. If you need to add another existing email address to receive at, tap Sign-In & Security on your account page and hit Add Email or Phone Number at the top.
Apple devices have integration with Hide My Email. When you’re creating an account in Safari or other supported apps, you’ll see a Hide My Email prompt upon tapping the Email field. This lets you create a new random address on the spot instead of copying an existing one.
When to use each mail optioniCloud Mail aliases and the Hide My Email feature of iCloud+ are similar, but have different purposes and can thus be used in conjunction.
Aliases are best used as fixed addresses you plan to keep for a long time. For instance, if your main iCloud email address isn’t professional, you might set up an alias that uses your name. Or you might add an alias for side work you do, such as running a YouTube channel or selling on eBay. This helps keep mail for different purposes distinct, while all ending up in the same place.
Hide My Email random addresses are better-suited for when you’re signing up for a new service and don’t want to hand out your true address. They’re not memorable, and you can add one per online account without trouble. If a certain address starts receiving spam, you can disable it.
There’s also a difference in where emails end up. Aliases can only go to your iCloud Mail inbox, whereas Hide My Email addresses can go to any inbox tied to your Apple account. You’ll need to use other methods to create aliases for another email service.
If you made an iCloud Mail address when you created an Apple account but have never used it, aliases are a great reason to give it another try. Hide My Email is only available to paid subscribers, but since iCloud+ starts at $1/month, it’s not a high barrier to entry.
iCloud gives you great tools to manage your email without signing up for another account or adding third-party burner email tools. If you’re sick of spam or have been wanting another email address that’s tied to your real ones, it’s worth diving into iCloud Mail fully.